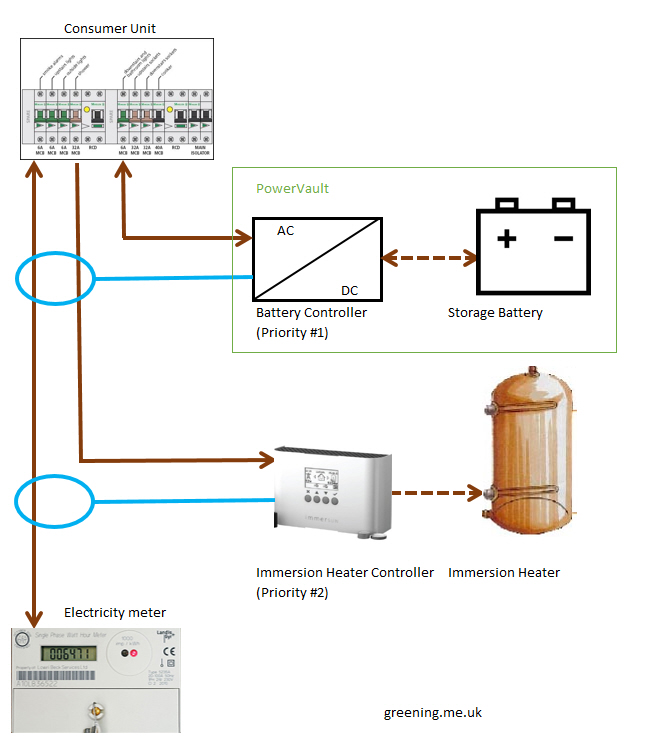
It’s now around four and half years since I bought my Powervault G200 storage battery and two years since I started managing it from my Home Energy Management System (HEMS).
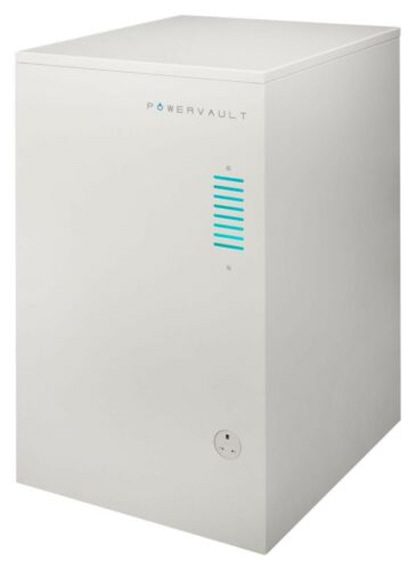
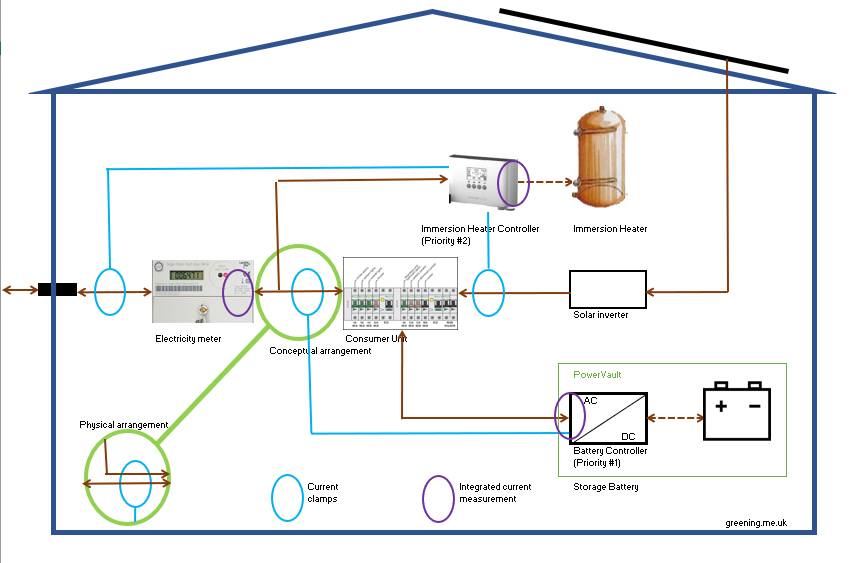
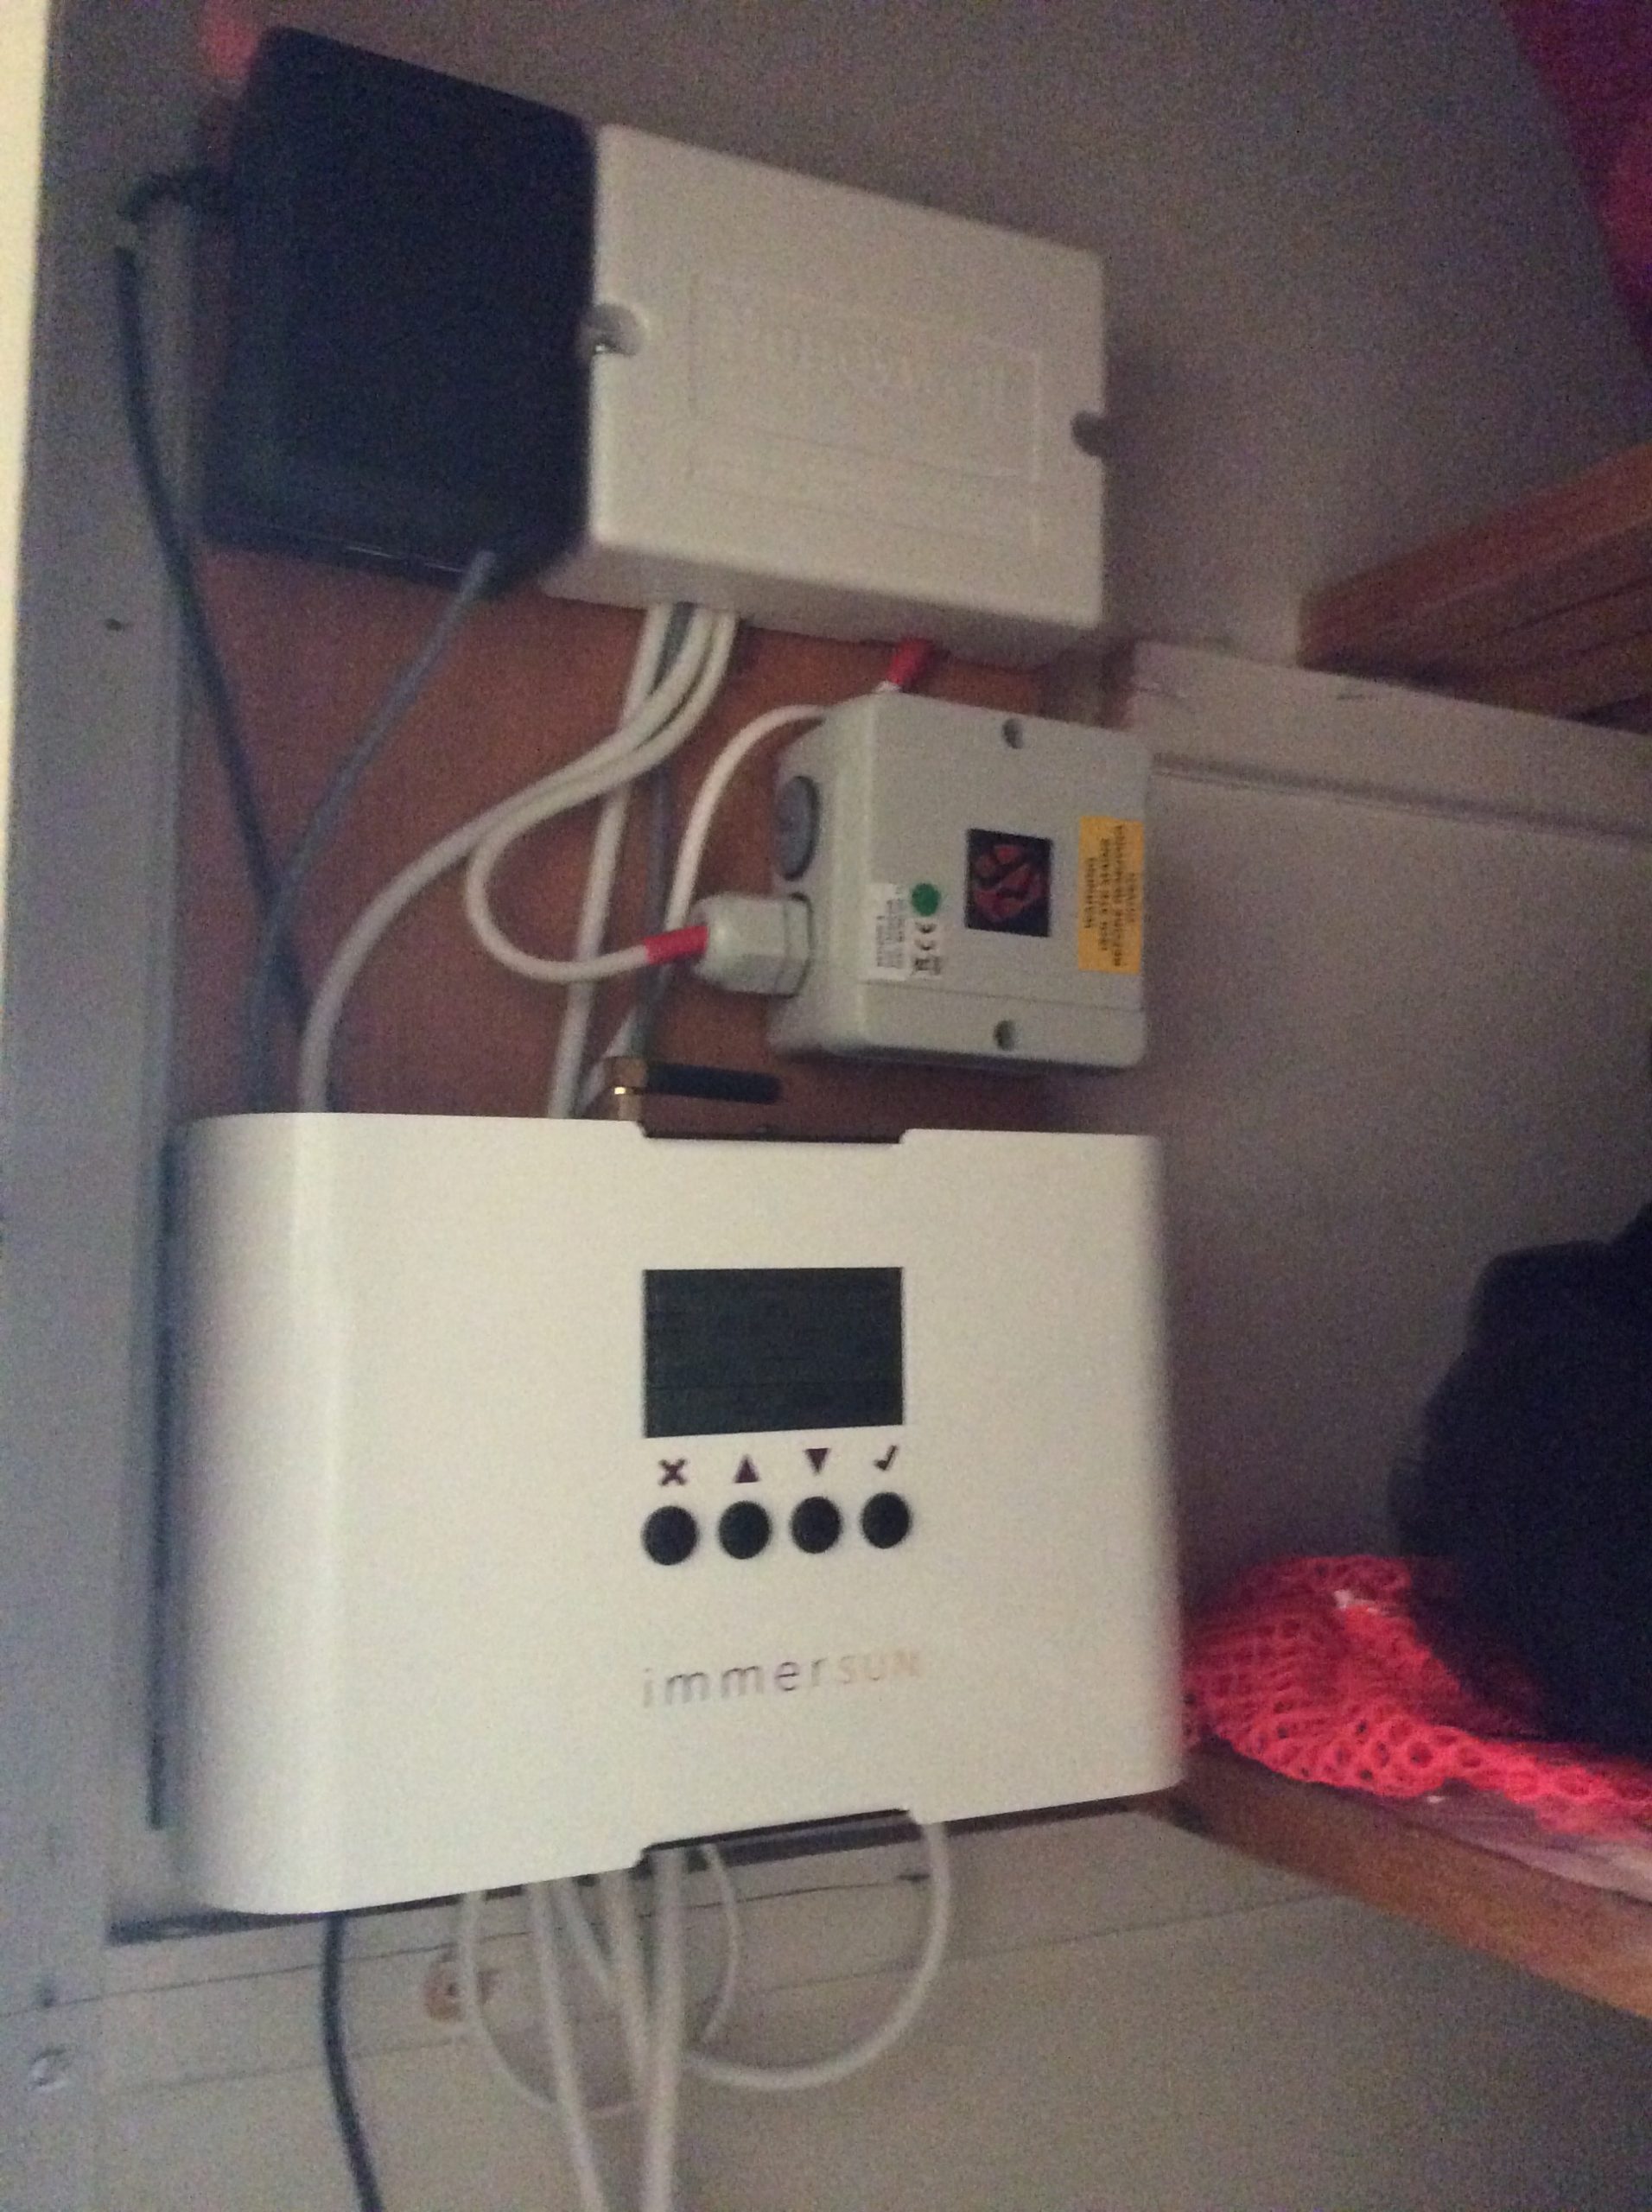
Powervault storage 
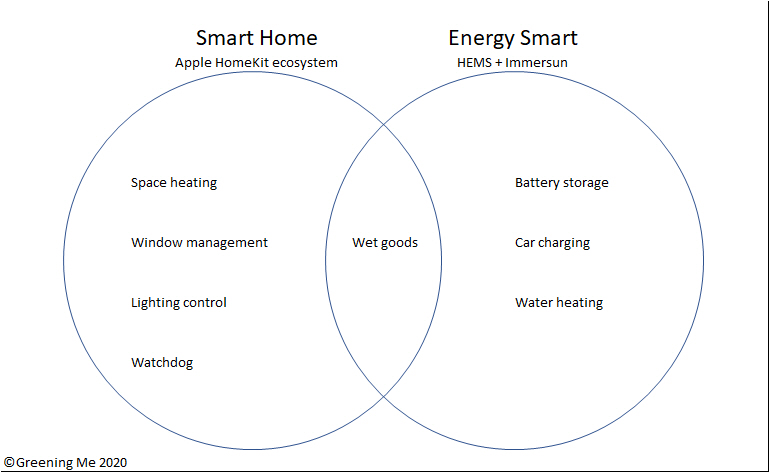
Smart controls – HEMS and immersun.
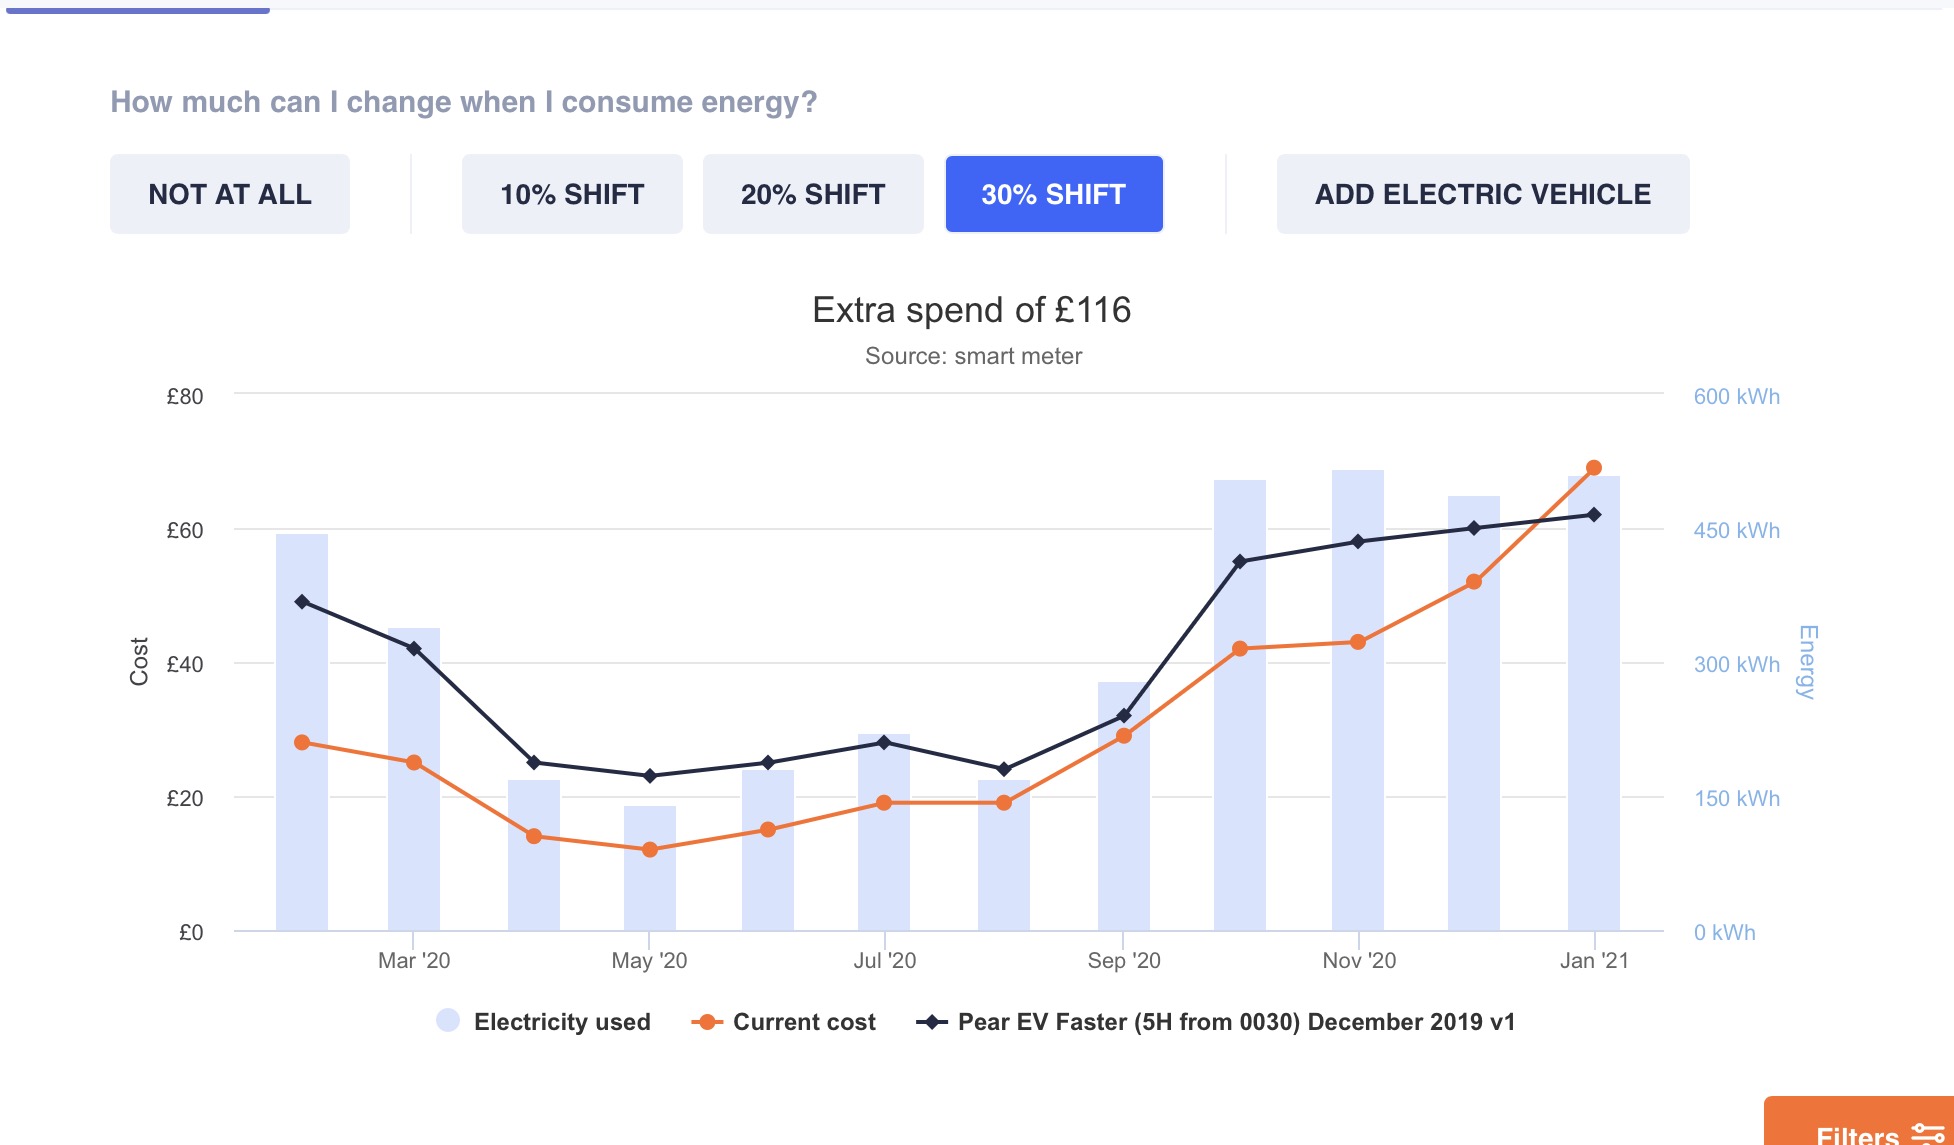
Originally the Powervault set up simply to store surplus electricity from my solar panels for later use but, following my change to Octopus’ Agile tariff, I started to use the Powervault to optimize electricity costs when there wasn’t going to be enough solar, charging when electricity was relatively cheap and discharging when electricity was relatively expensive. Initially I configured the Powervault manually to achieve this but later moved to the HEMS doing it automatically.

Configuring the Powervault manually 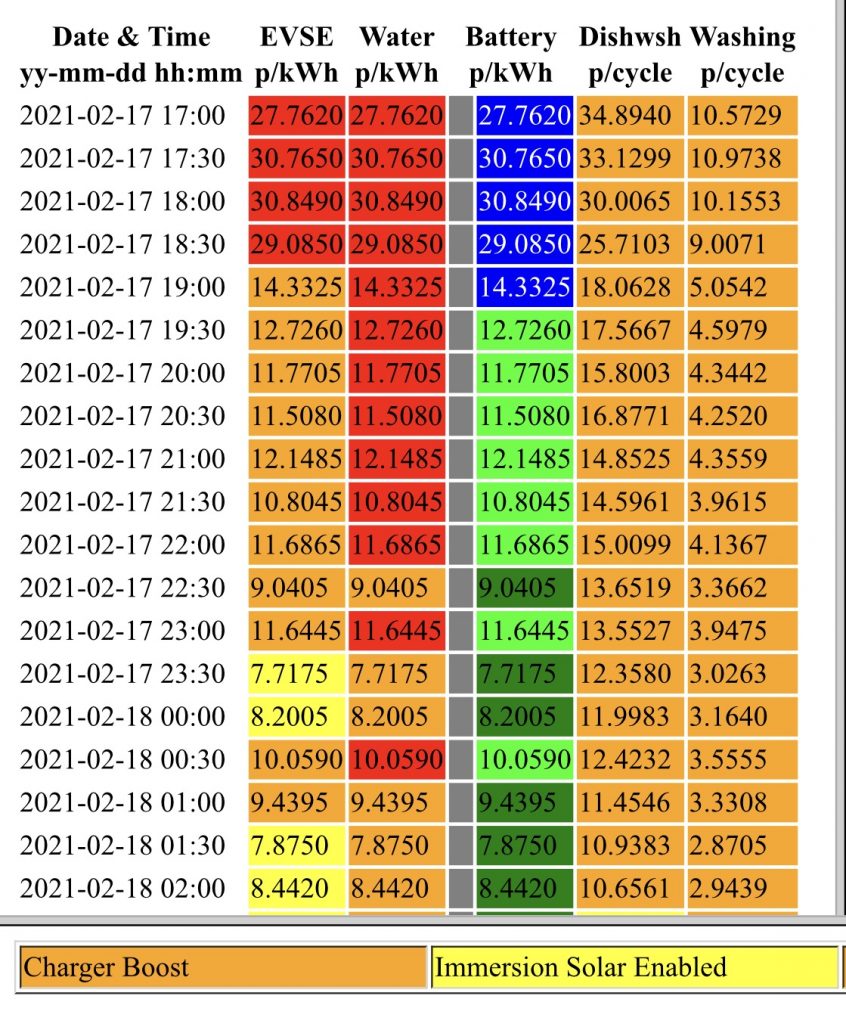
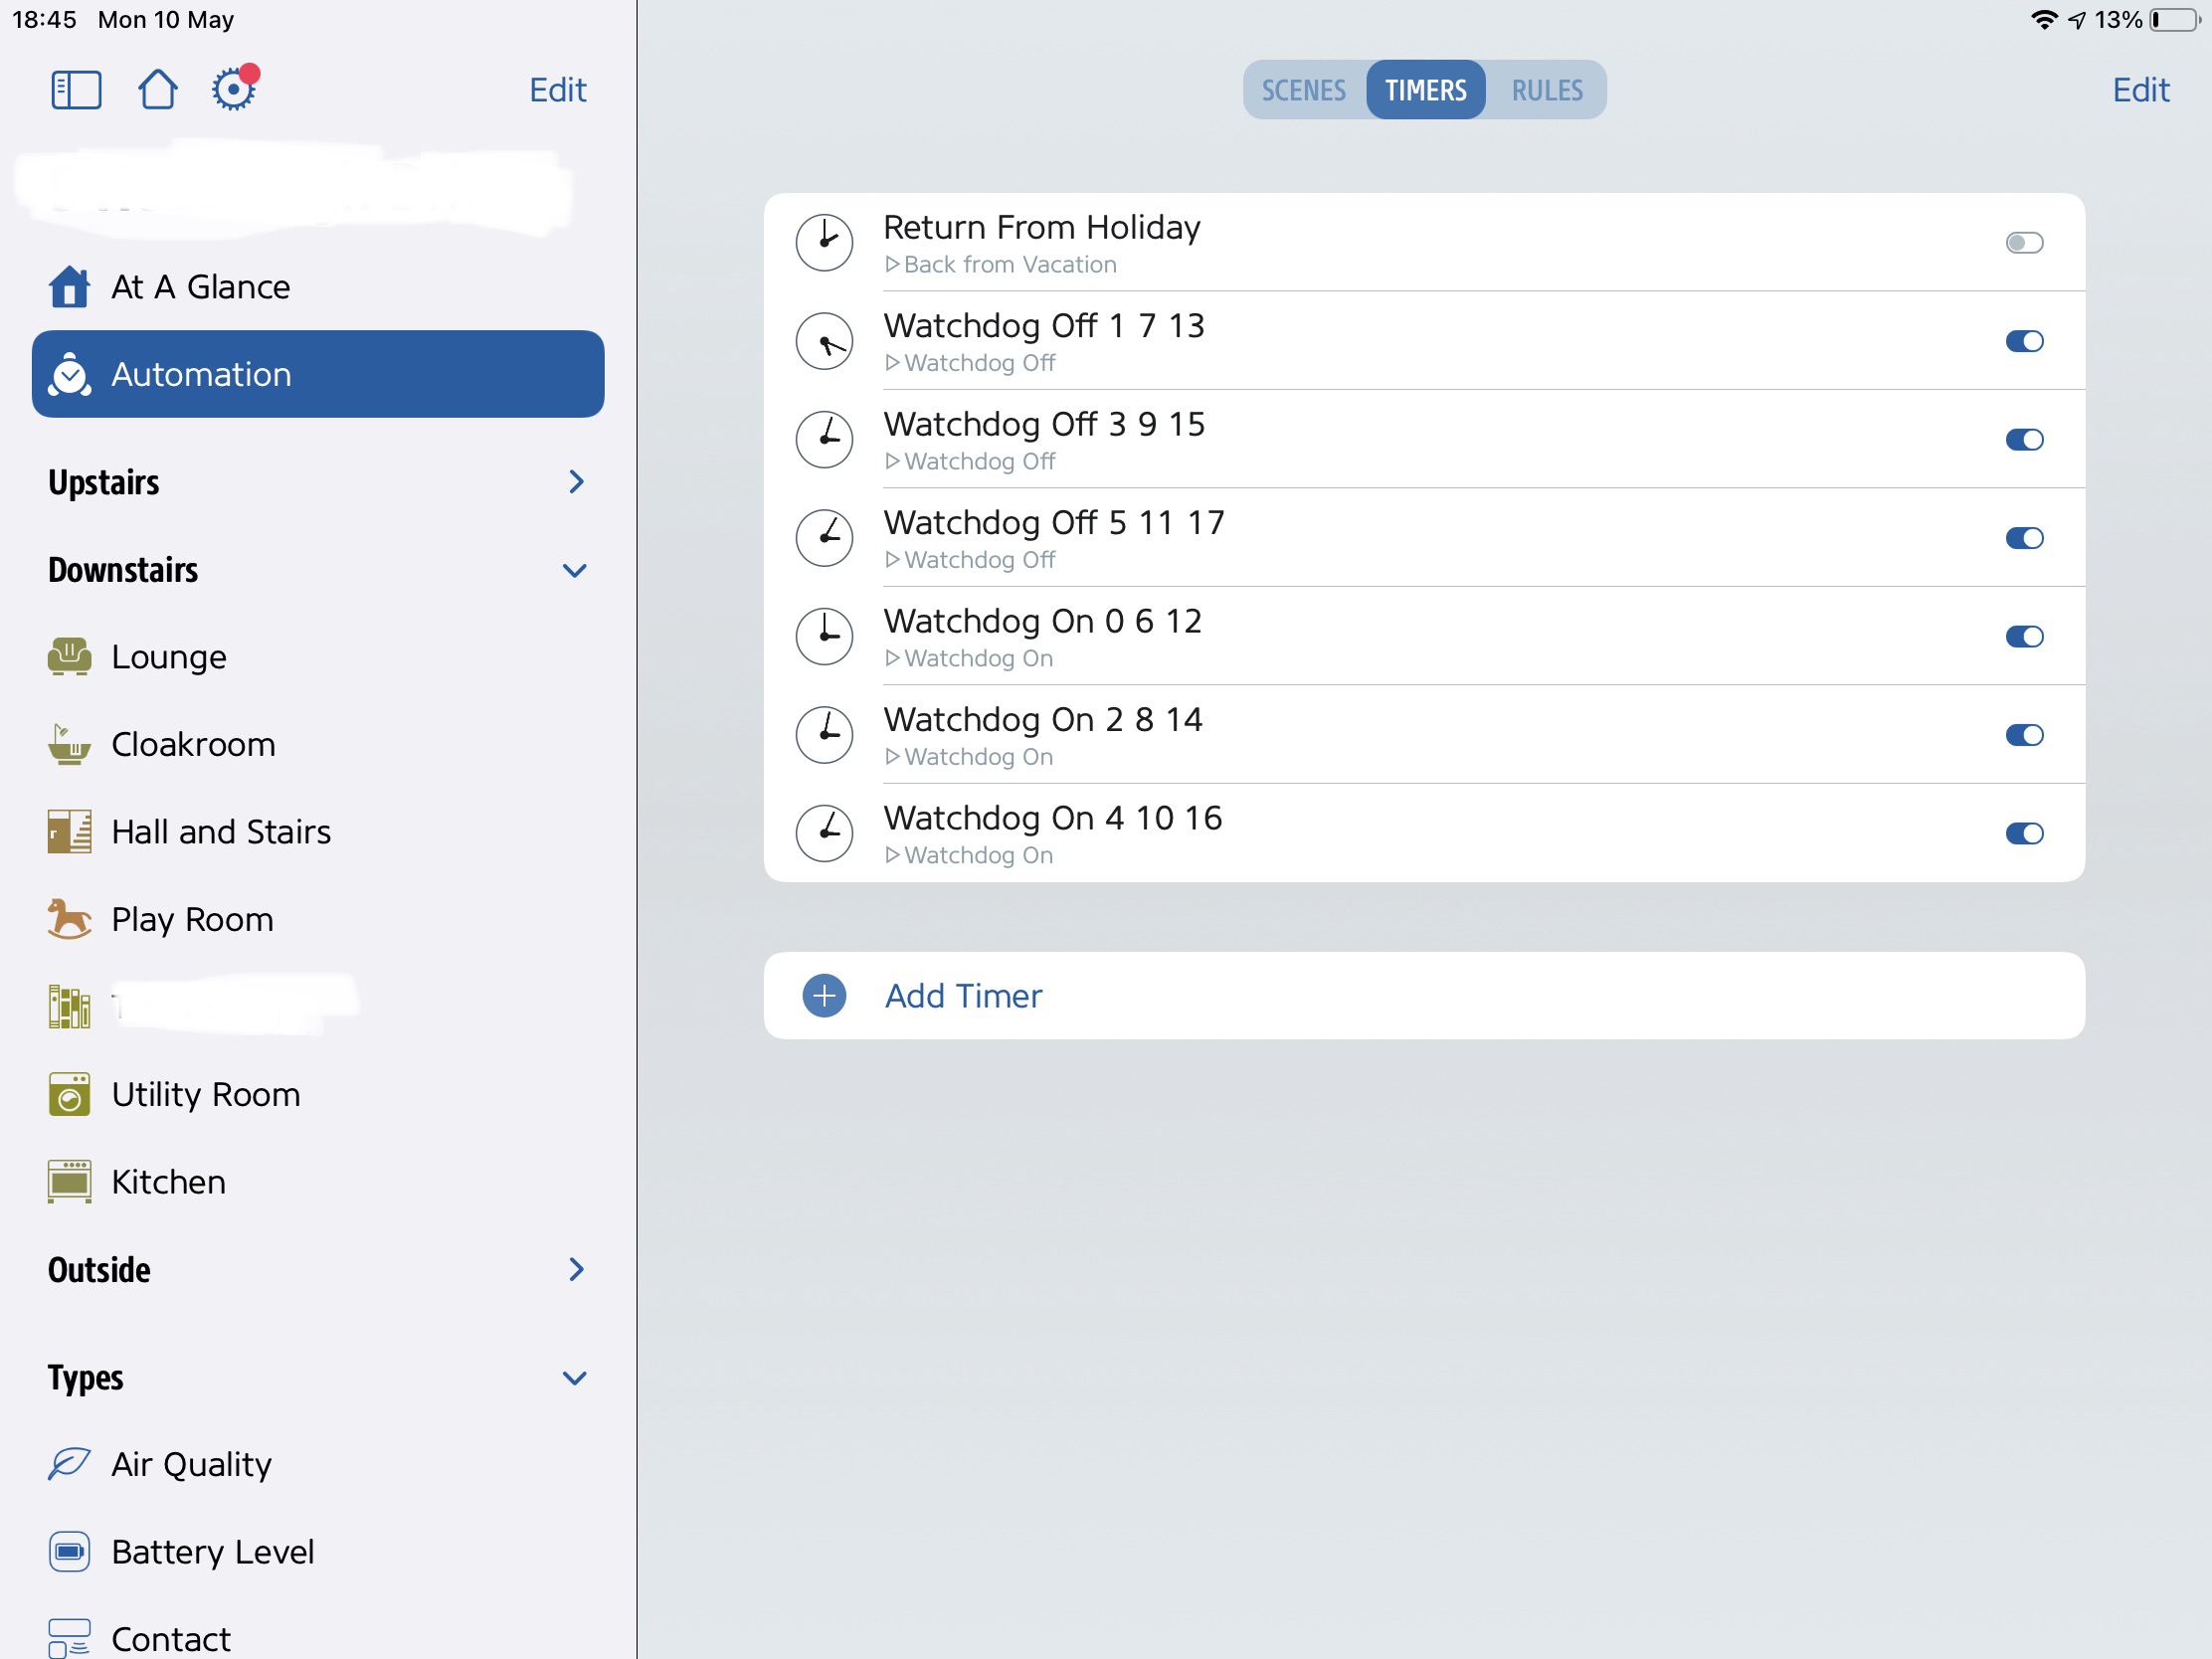
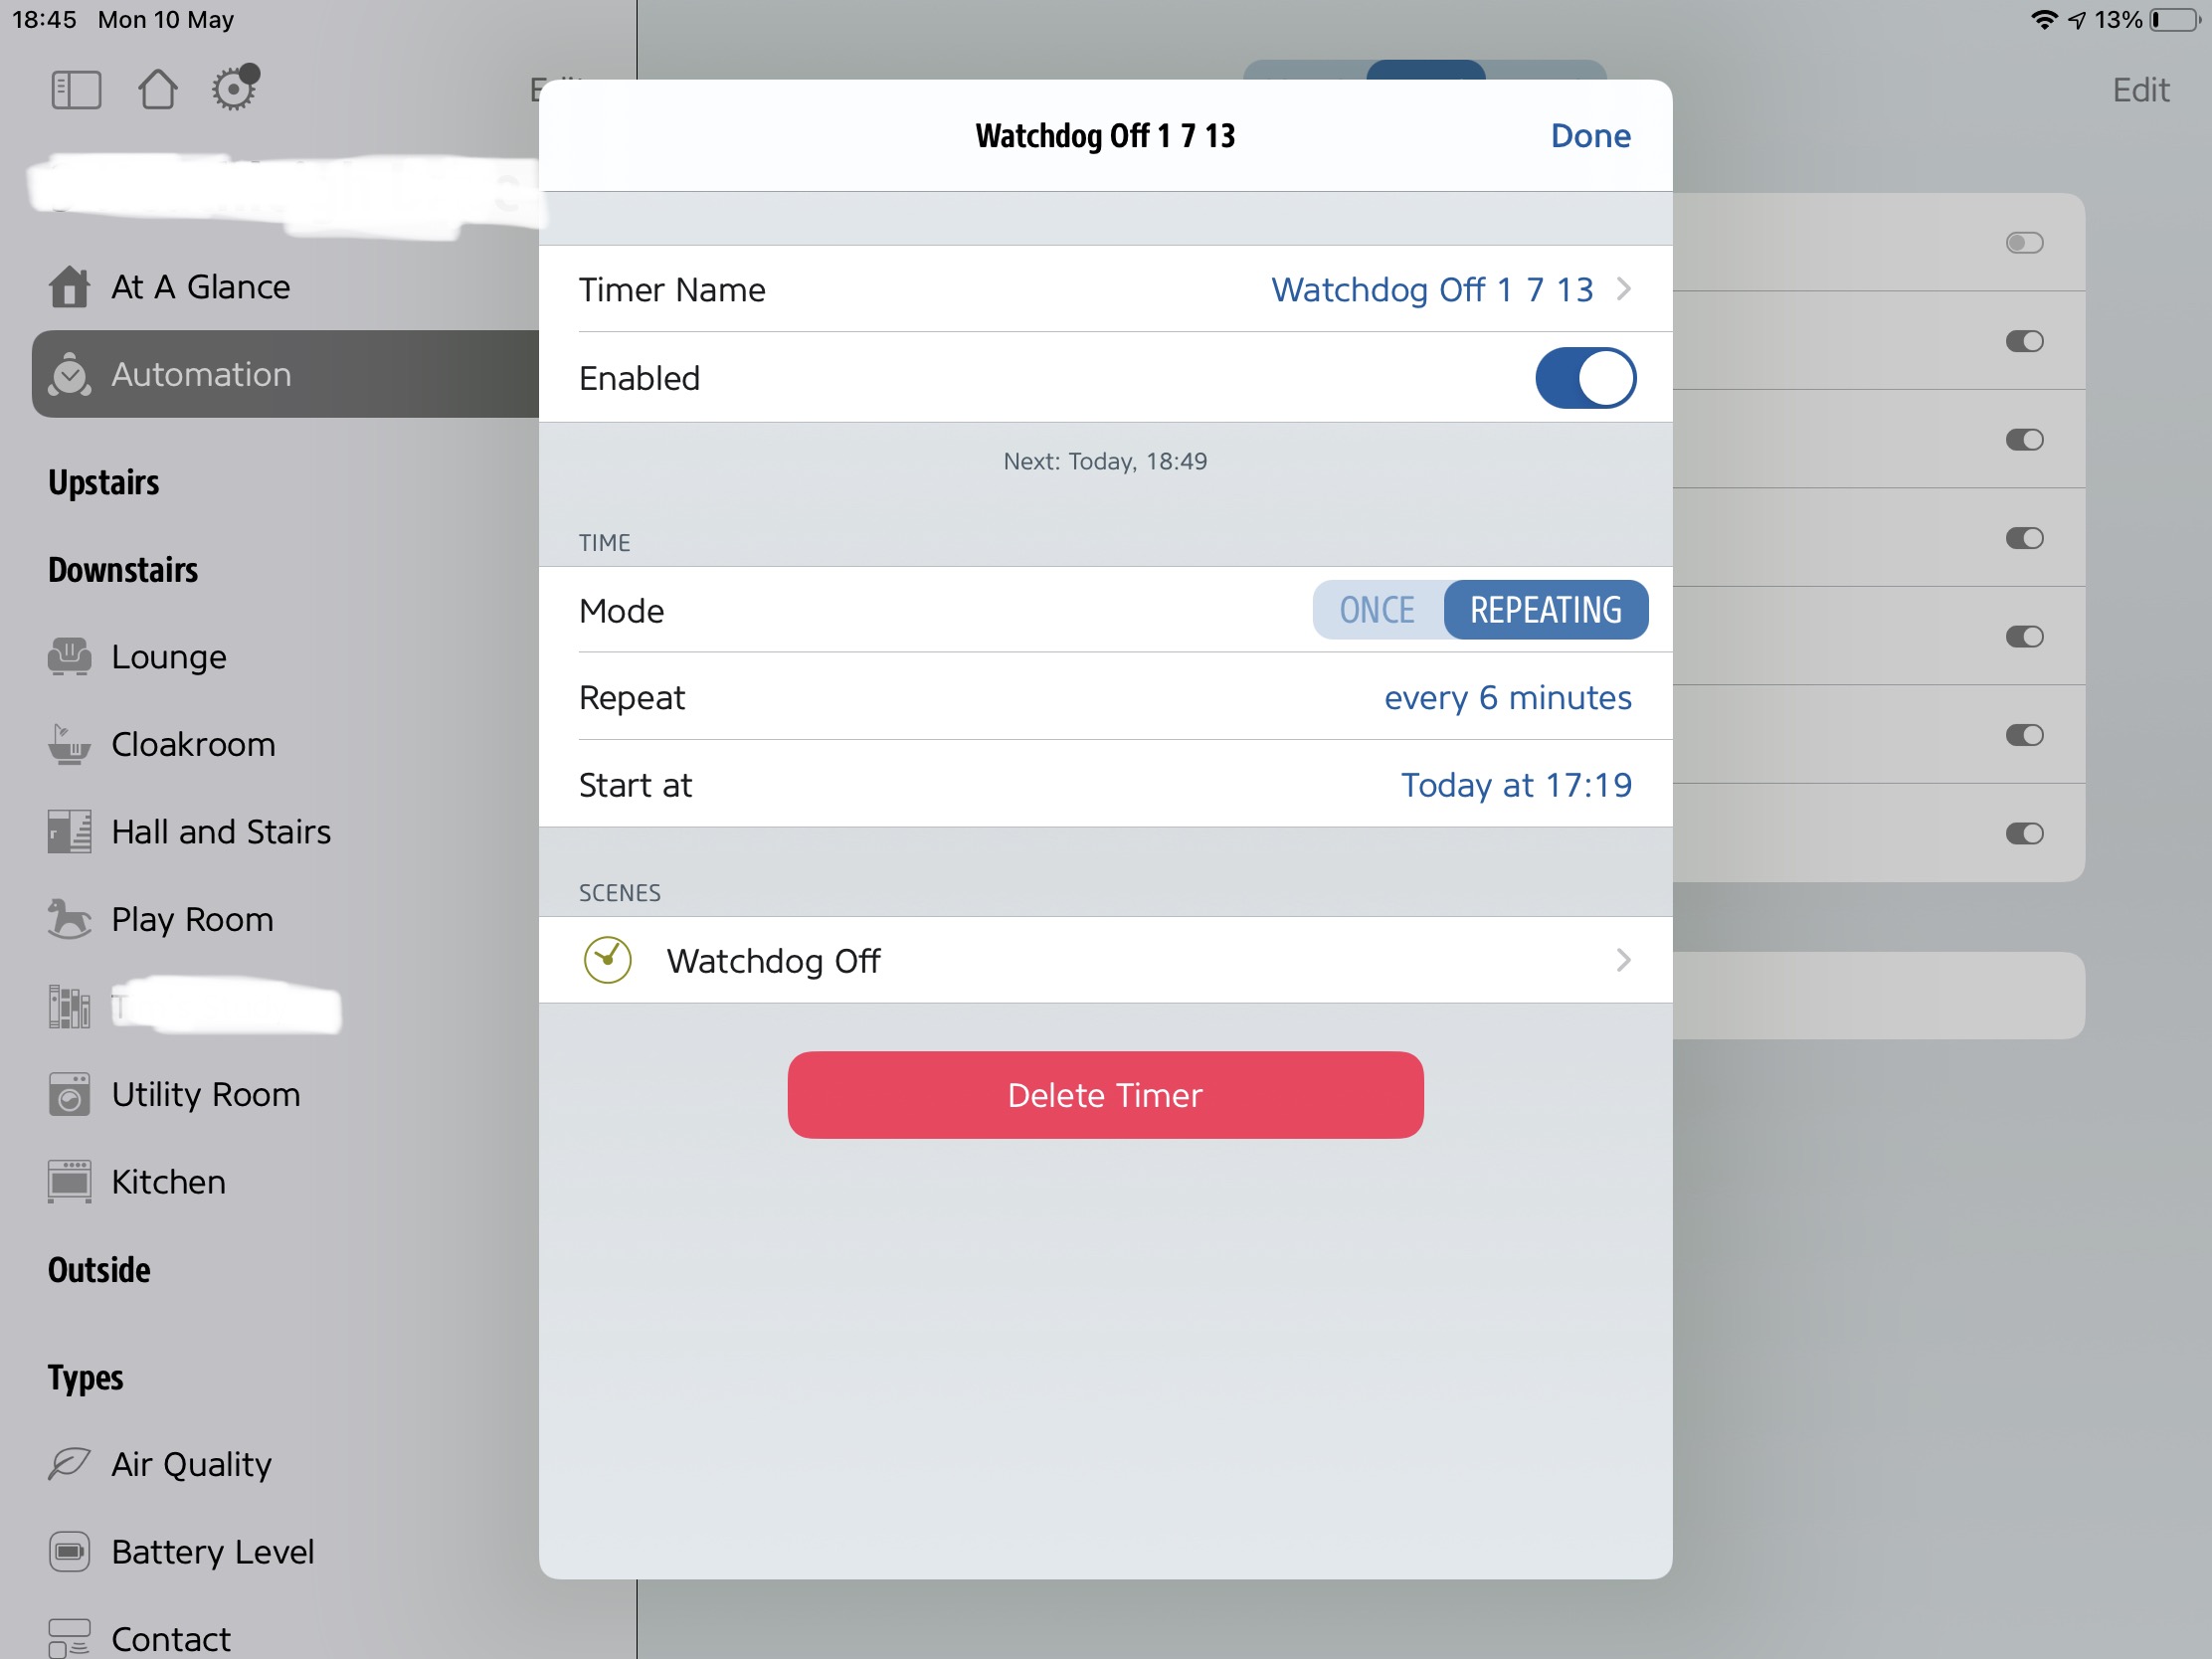
Configuring the Powervault via the HEMS
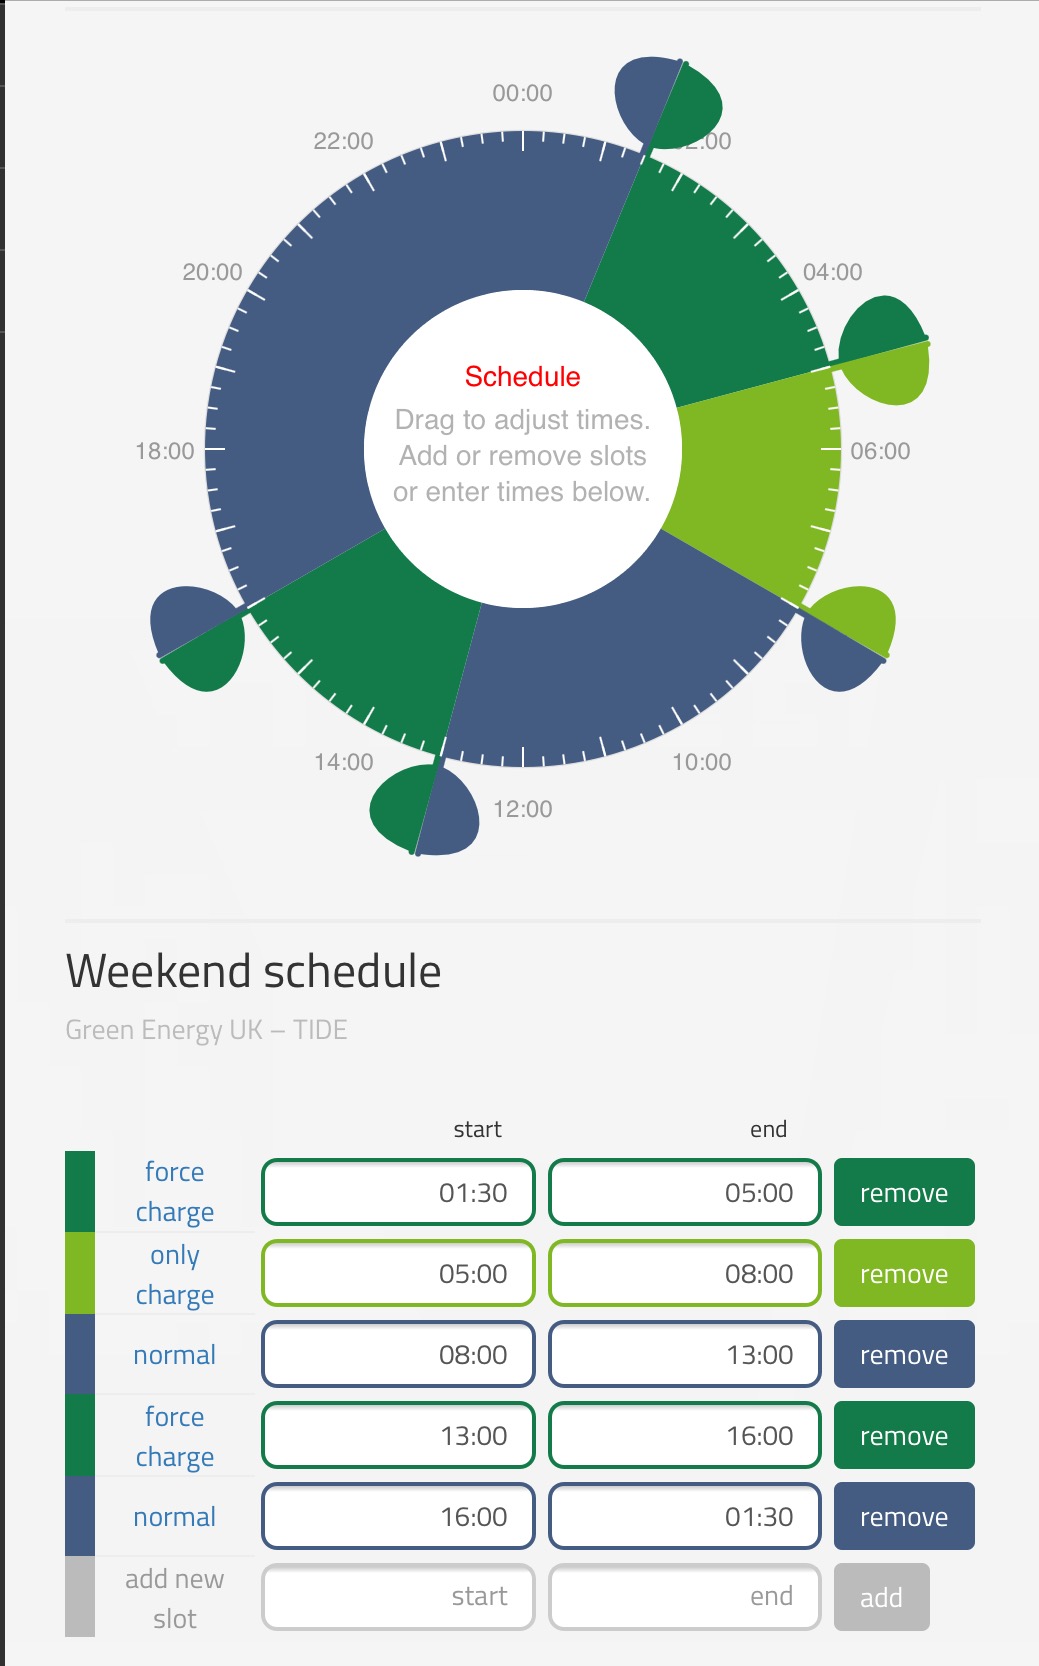

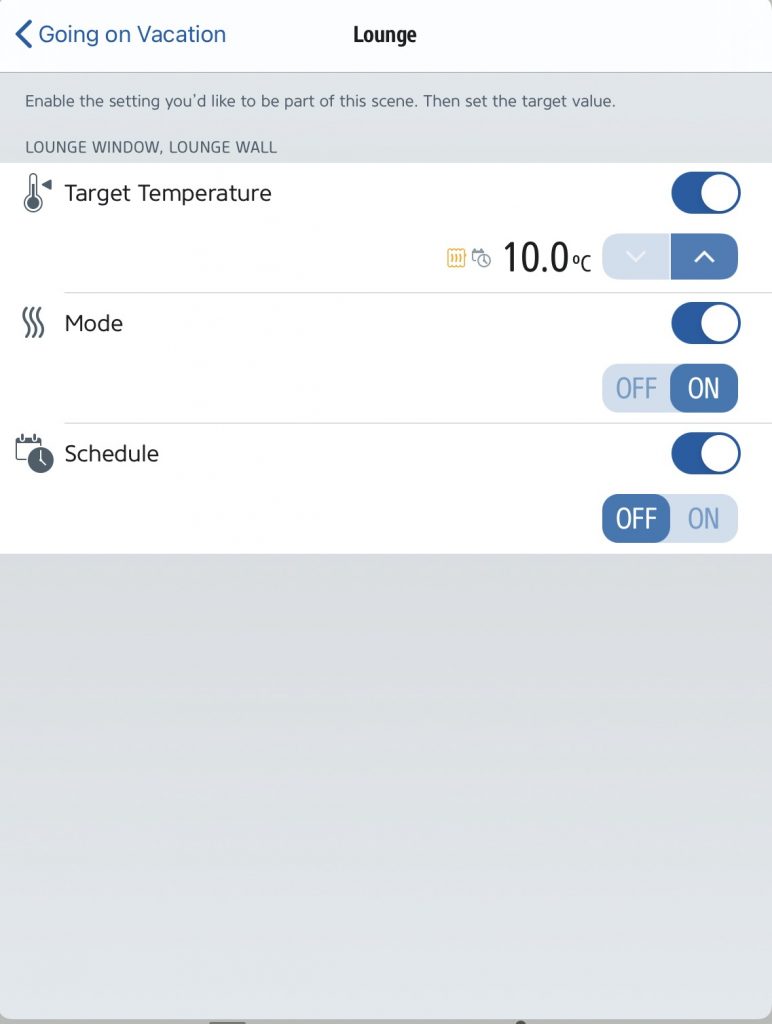
The fundamental principle has remained the same through both manual and automated periods, with the battery being set into one of three modes depending on price:
- Force charge – where the battery charges at full power (usually from the grid) for the required number of hours – when grid electricity price is cheapest.
- Only charge – when the battery charges proportionally to the solar surplus (but will not discharge) – when grid electricity is mid-price (i.e. too close to the price at which the battery was being force charged to be economically advantageous to discharge)
- Normal – when the battery charges or discharges proportionately to the solar surplus/shortfall – when grid electricity is comparatively expensive compared to the force charge price.

The current logic now reflects electricity price, time of day and state of charge. The fundamental relationship is with grid electricity price as previously described, but with two further refinements:
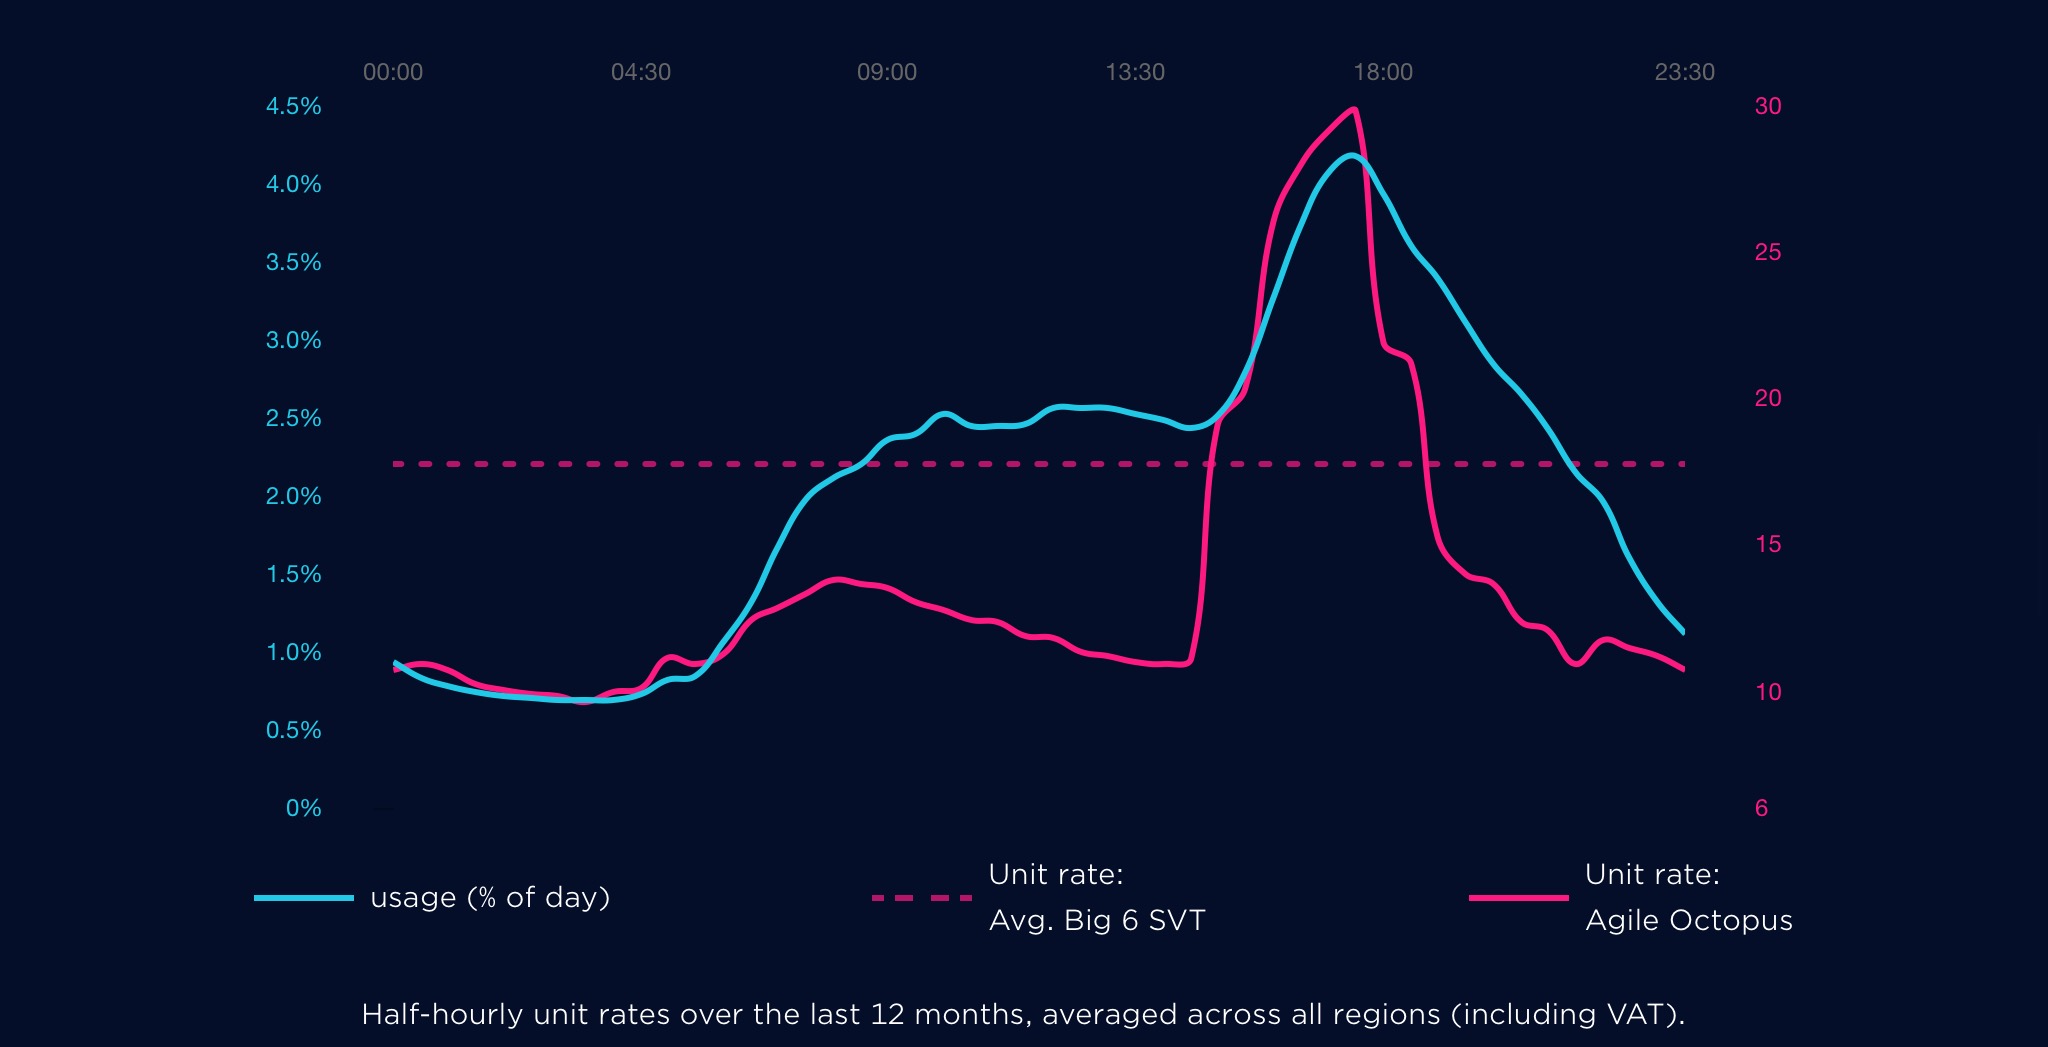
- During the day, even when the electricity price is relatively high, the battery is held in charge only until 80% state of charge is obtained. This helps ensure that a high state of charge is obtained before the early evening peak in Agile prices from 4 to 7 PM by not allowing the battery to discharge while the expectation is that it is being charged from solar. In the depths of winter, when the battery is more likely to be charged overnight and thus start the day with a high state of charge, the same logic allows the battery to discharge to 80% if electricity is costly during the day but still preserves charge for the early evening peak.
- Similarly if the battery is full, but the grid price is medium, then the battery is also allowed to discharge to 95% during the day. This allows the battery to discharge slightly to cover small peaks of demand on the assumption that a small amount of solar recharge may well be possible even if the solar forecast wasn’t high enough for recharging at full power.
To consider the two bookends of behaviour:
- On a really sunny day like tomorrow, the HEMS doesn’t anticipate any need to buy electricity from the grid for battery charging so all electricity is relatively expensive. The HEMS will allow the battery to discharge overnight (completely if necessary) . From 8:00 AM the battery will only be allowed to charge until 80% state of charge or 4:00 PM is reached after which the battery will be put back in Normal operation when it has the freedom to either charge or discharge.
- On a winters day, the HEMS potentially fully charges the battery overnight. Between 8:00 AM and 4:00 PM the battery is allowed to discharge to 95% if grid electricity is mid-price (with some hope that the 5% may be recovered from solar), or to 80% if grid electricity is high price. After 4:00 PM the battery reverts to Normal operation for the evening peak period.
I’m very pleased with how robustly my battery integration operates. It is however reliant on the continuing availability of the Powervault G200 cloud which may not be around forever as the G200 model has now been superseded. My own example is currently four and a half years old.