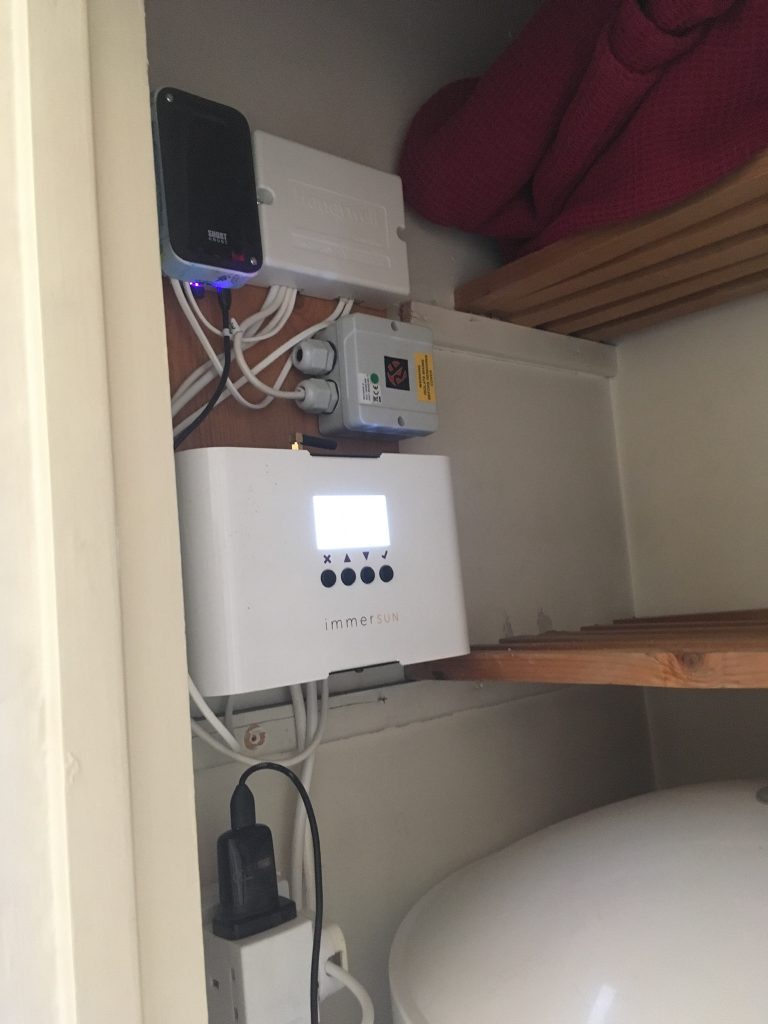
Here we have the whole assembly mounted on the side wall of the airing cupboard above the hot water cylinder. The whole assembly is mounted on a board which can be lifted off two screwheads. The cables are sufficiently long to allow the whole assembly to be placed on the floor should update be required.
Below the assembly can be seen a socket outlet which provides power for the low current controls only. The Raspberry Pi that provides the HEMS functionality is powered by a re-used USB mobile phone charger. All this control side can be isolated by the simple expedient of pulling out the plug. The high current power for the immersion heater is hardwired via the ImmerSUN. All power is provided via the fused spur with single pole switch that originally powered the immersion heater alone.
As an aside at this point, some ImmerSUN users have reported issues with power connectors melting as indeed have I in the past. In my installation the chances of this occurring are minimised by:
- Use of multistand flex for wiring rather than solid twin-and-earth.
- Use of bootlace ferrules to terminate the ends of the cables before insertion into the screw connectors.
- Use of cable ties to secure the flex to the chassis of the ImmerSUN on the provided locations adjacent to the cable entry.
